How We Installed Starlink Rv in Our Overland Vehicle
October 13, 2022
This past Summer, the satellite internet provider Starlink, became really popular among RVers, overlanders, and other van dwellers when the company released their “RV” plan. We decided to signup when we came back in the US last month.
While we like being offline, we’ve also dreamed to have a stable and reliable connection to get work done when camping in the backcountry. Starlink had enabled us of doing just that, and we can say with confidence that it has been a game changer for our life on the road!
That being said, the Starlink kit, which consists of a dish, a router, a power cable, and a wire to connect the dish to the router, isn’t really practical to use in an RV, especially if you are constantly on the move. For the first few weeks, we had to unpack everything from a box, plug the router into one of the outlets, mount the dish on the tripod, set it up outside (either on the roof of the camper or on the ground depending on the situation) and then pass the wire to connect the dish to the router through one of the window of the camper… The process felt cumbersome, and we wanted to have a more efficient setup so we started to brainstorm!
Once we had a clear picture of what we wanted, we reached out to Boulder Vehicle Outfitters and asked them to help us on this project. As usual, they kindly accepted and were ready for the (small) challenge!
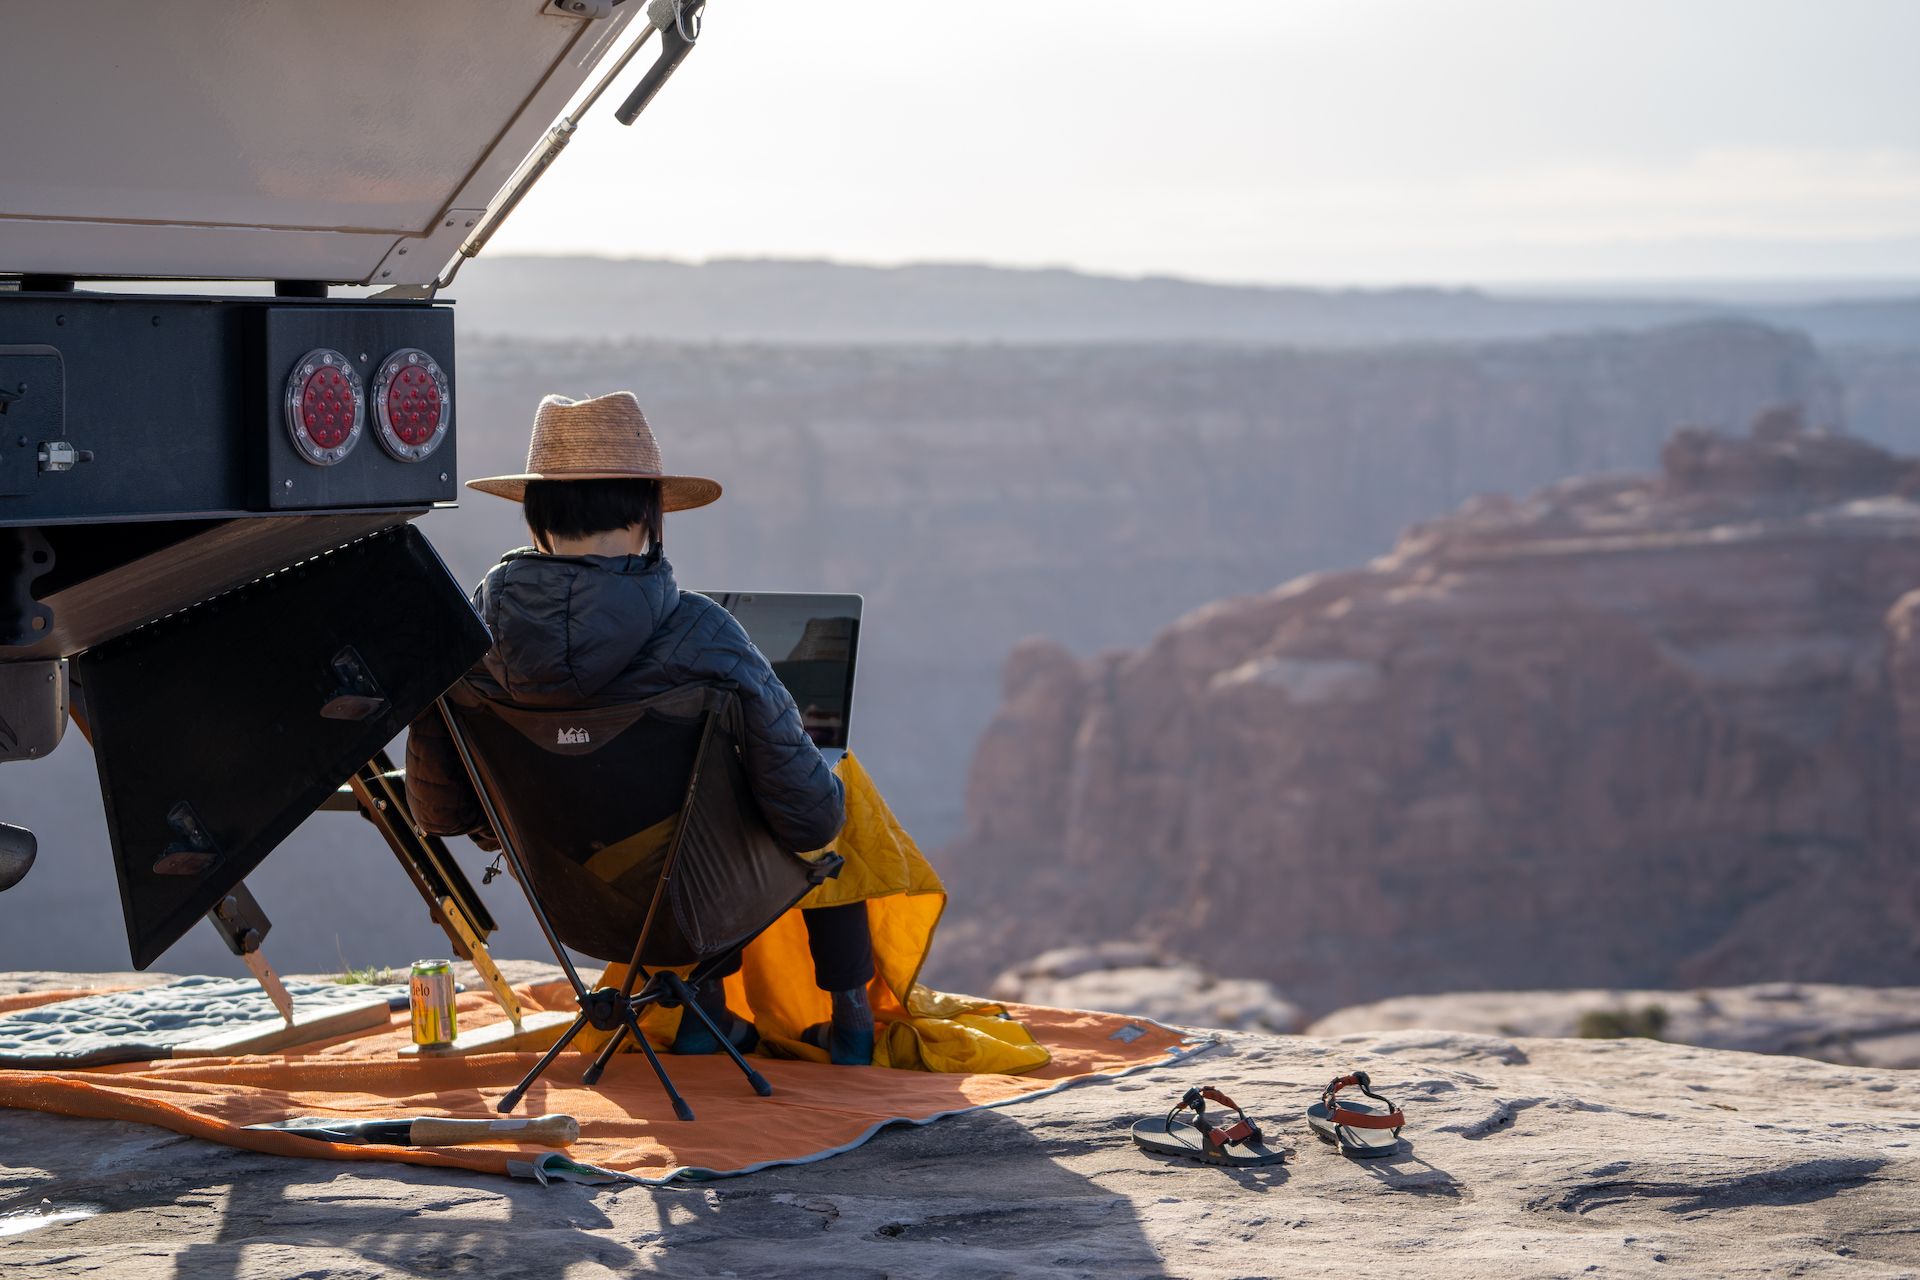 Starlink enables us to fulfill our obligations while being far away from any infrastructure.
The Router
We decided to mount the router inside the rear external storage of the camper where we already have several electric components installed.
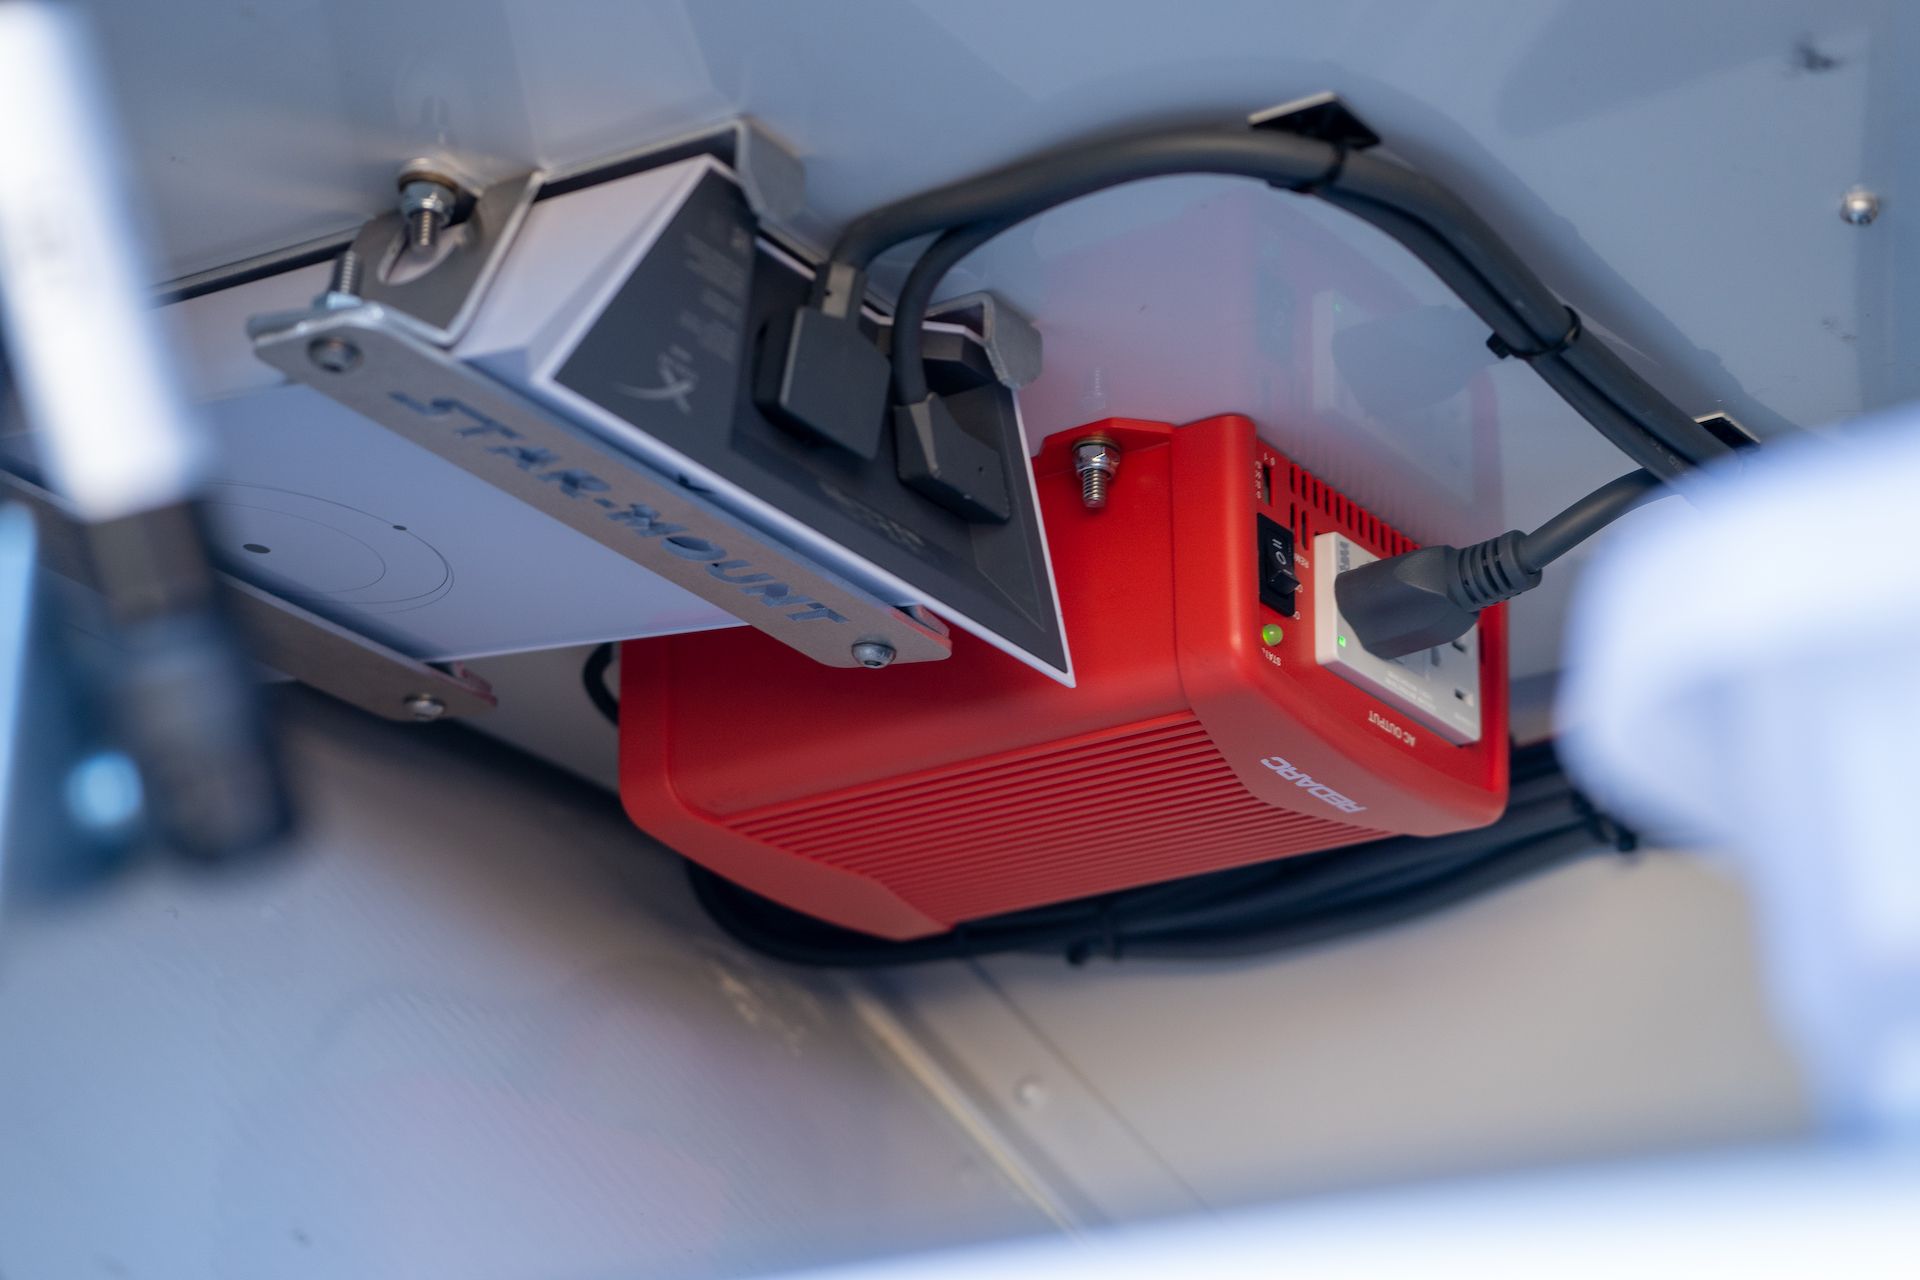
Starlink does not provide a mount for its router so we had to look elsewhere. There are several options available on Etsy (mostly 3d printed mounts) but these would not work to hold our router while driving on rough roads. The best (and unique) solution we found is the “Star-Mount Modem Bracket” sold by Star-Mount Systems. The bracket is nice and solid and we are very happy with it!
Regarding the power supply, as we often find ourselves leaving Starlink on during the day, we thought that it would be a good idea to have a dedicated inverter for Starlink, instead of using our big 1,500W inverter that generates more heat and draws more power from the battery. We knew could hack the system to make it work on 12v, we decided against it for the time being.
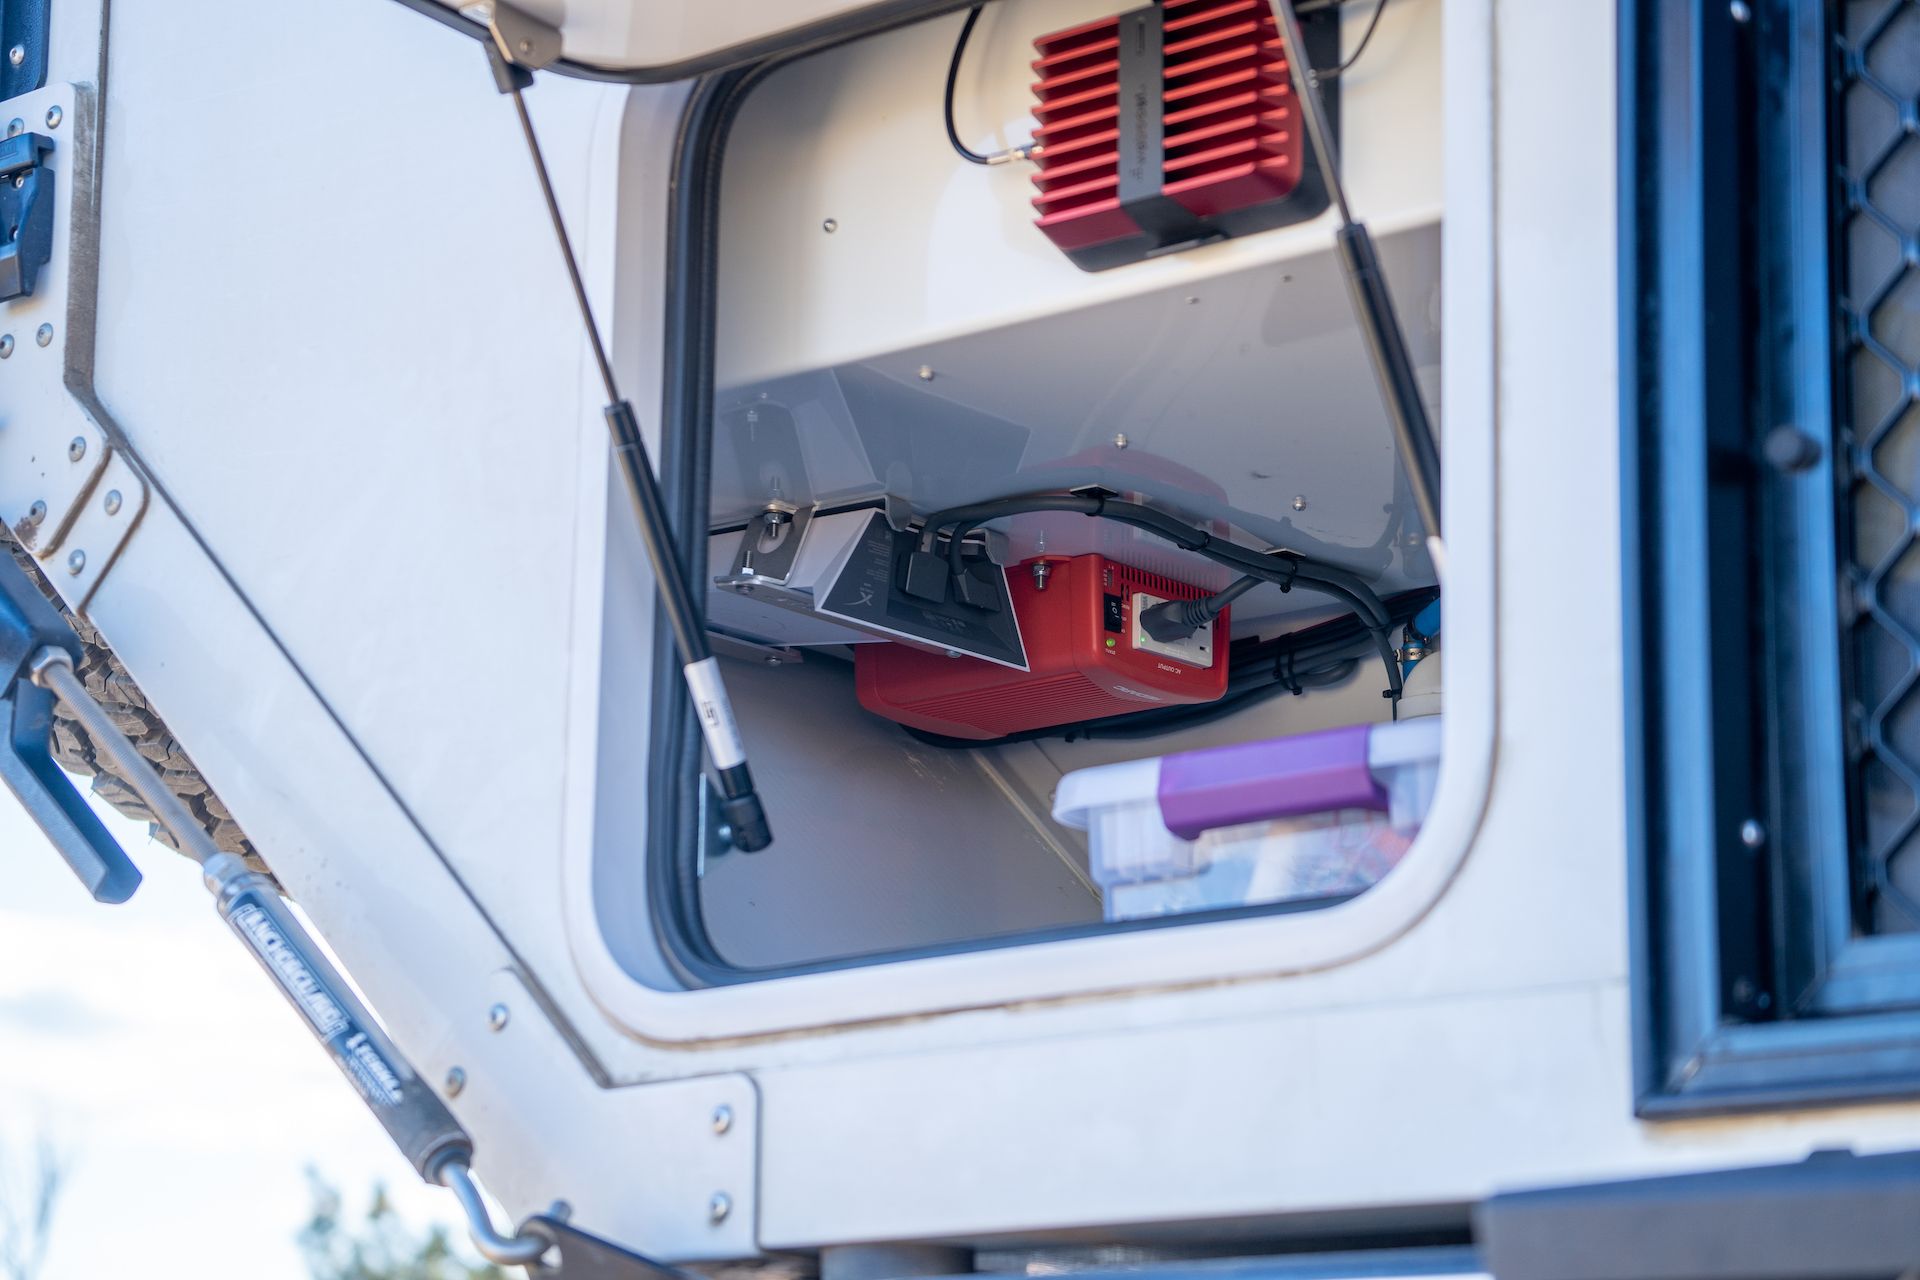 The router and its small and quiet dedicated inverter from Redarc installed in our rear exterior storage.
 With this install, we are able to visually inspect the small light at the bottom of the router.
The Dish
During our first month-long experience with Starlink, we’ve found that the system requires judicious placement of the dish to get the most stable and reliable connection. So while solutions exist to mount the dish permanently on the roof of the camper, we wanted to keep the flexility of positioning the dish either on the roof or far away from the camper.
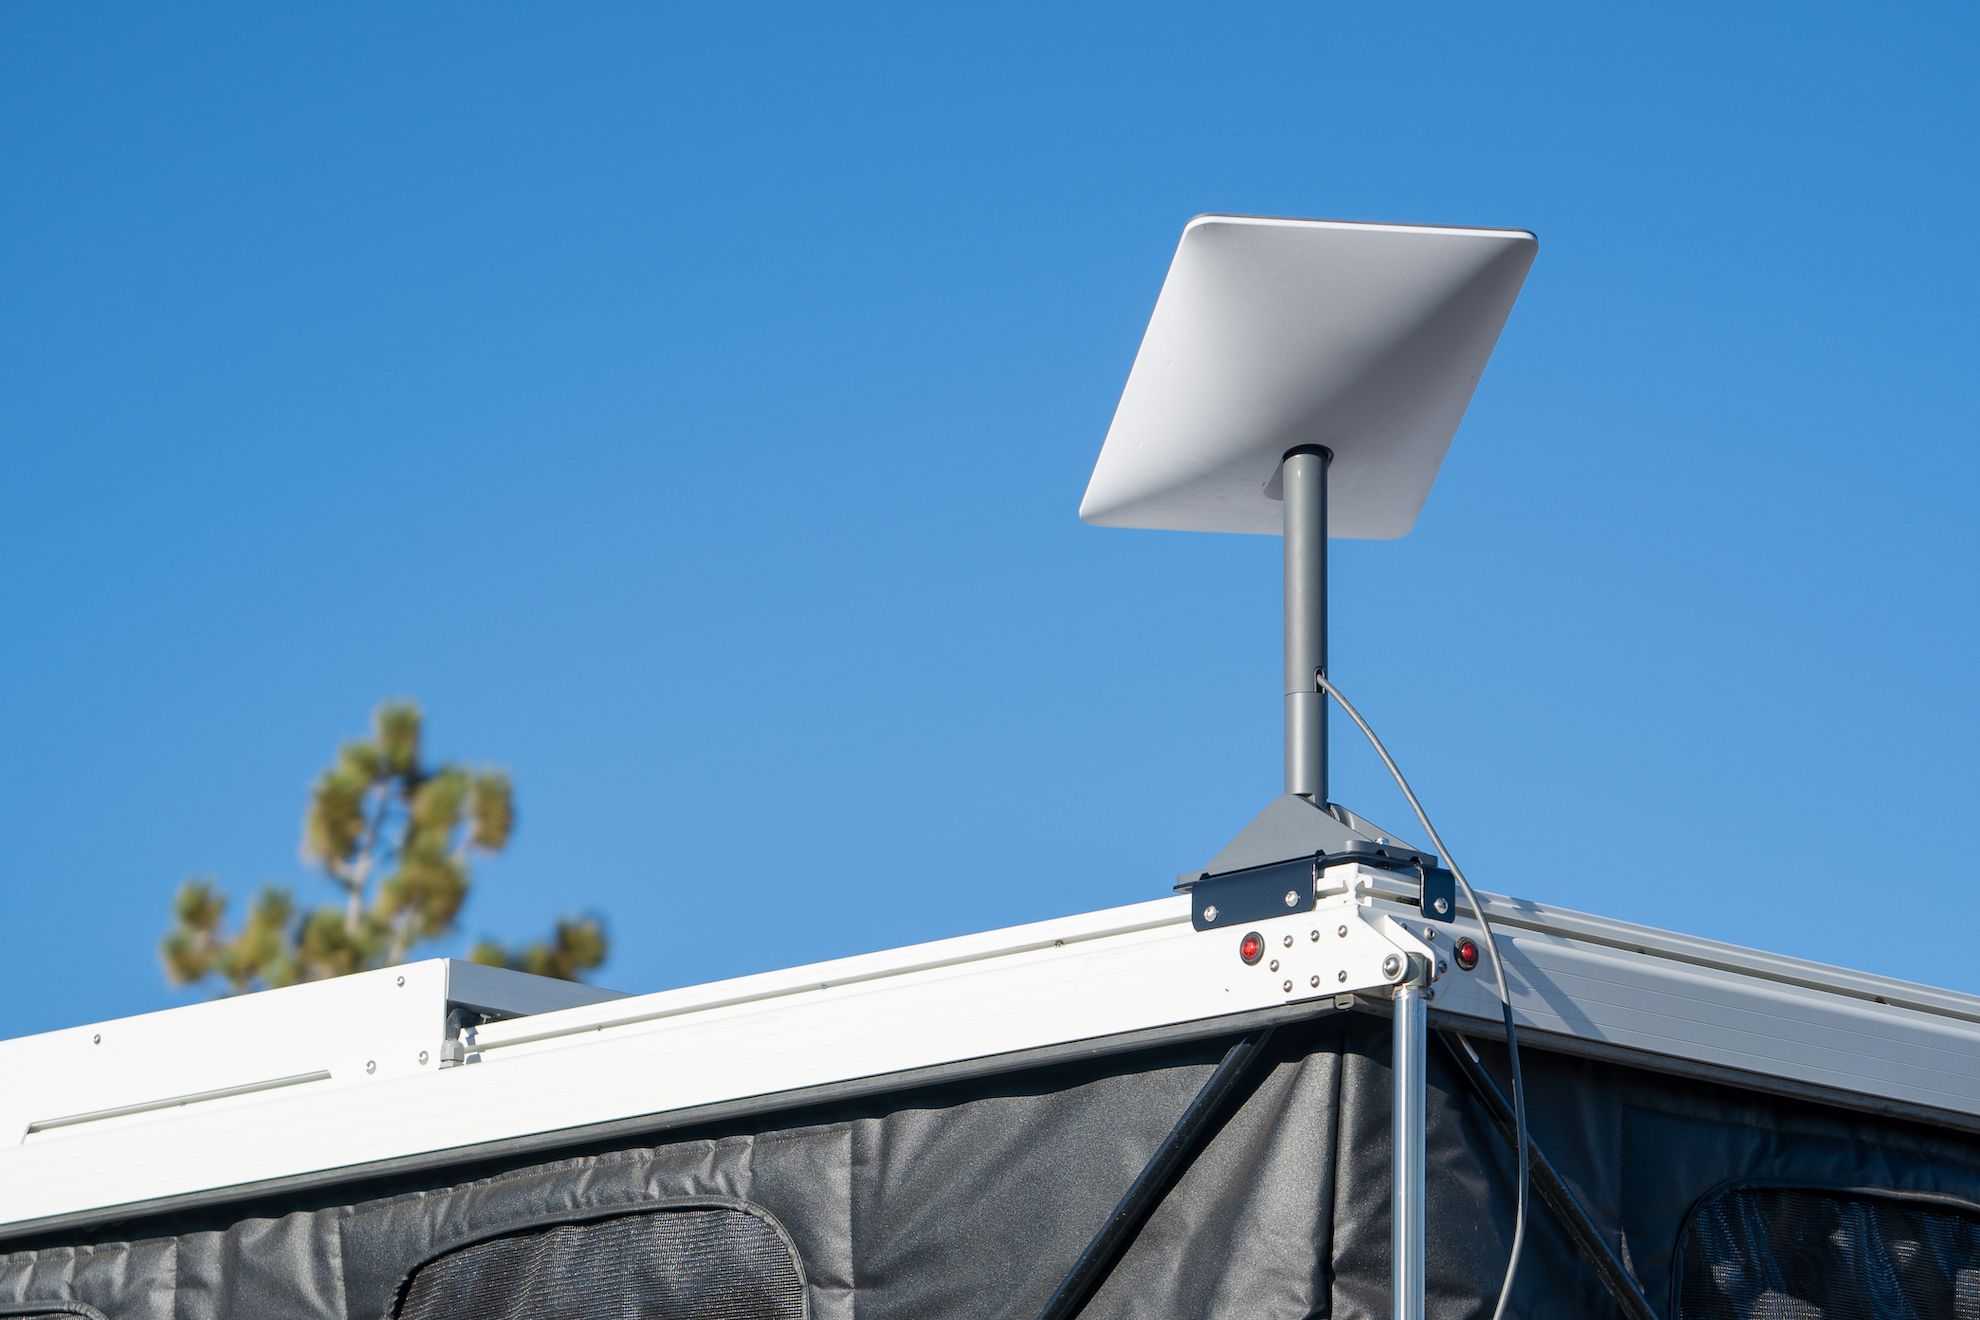
We had the idea of using the Pivot Mount from Starlink on a custom bracket that would be secured to the t-nut track on the roof. BVO fabricated a solid and very elegant bracket for the mount, and it looks so good that you’d think it has been made directly from OEV, the manufacturer of the camper!
The last step of the project was to add a connector on the driver side of the camper to connect the dish to the router, instead of running the wire through the door or a window. We found this waterproof connector on Amazon to be perfect for our use case! We decided to have the connector mounted on the driver side as we usually hang on the passenger side where the entrance of the camper is located and do not want to have a cable dangling by our feet.
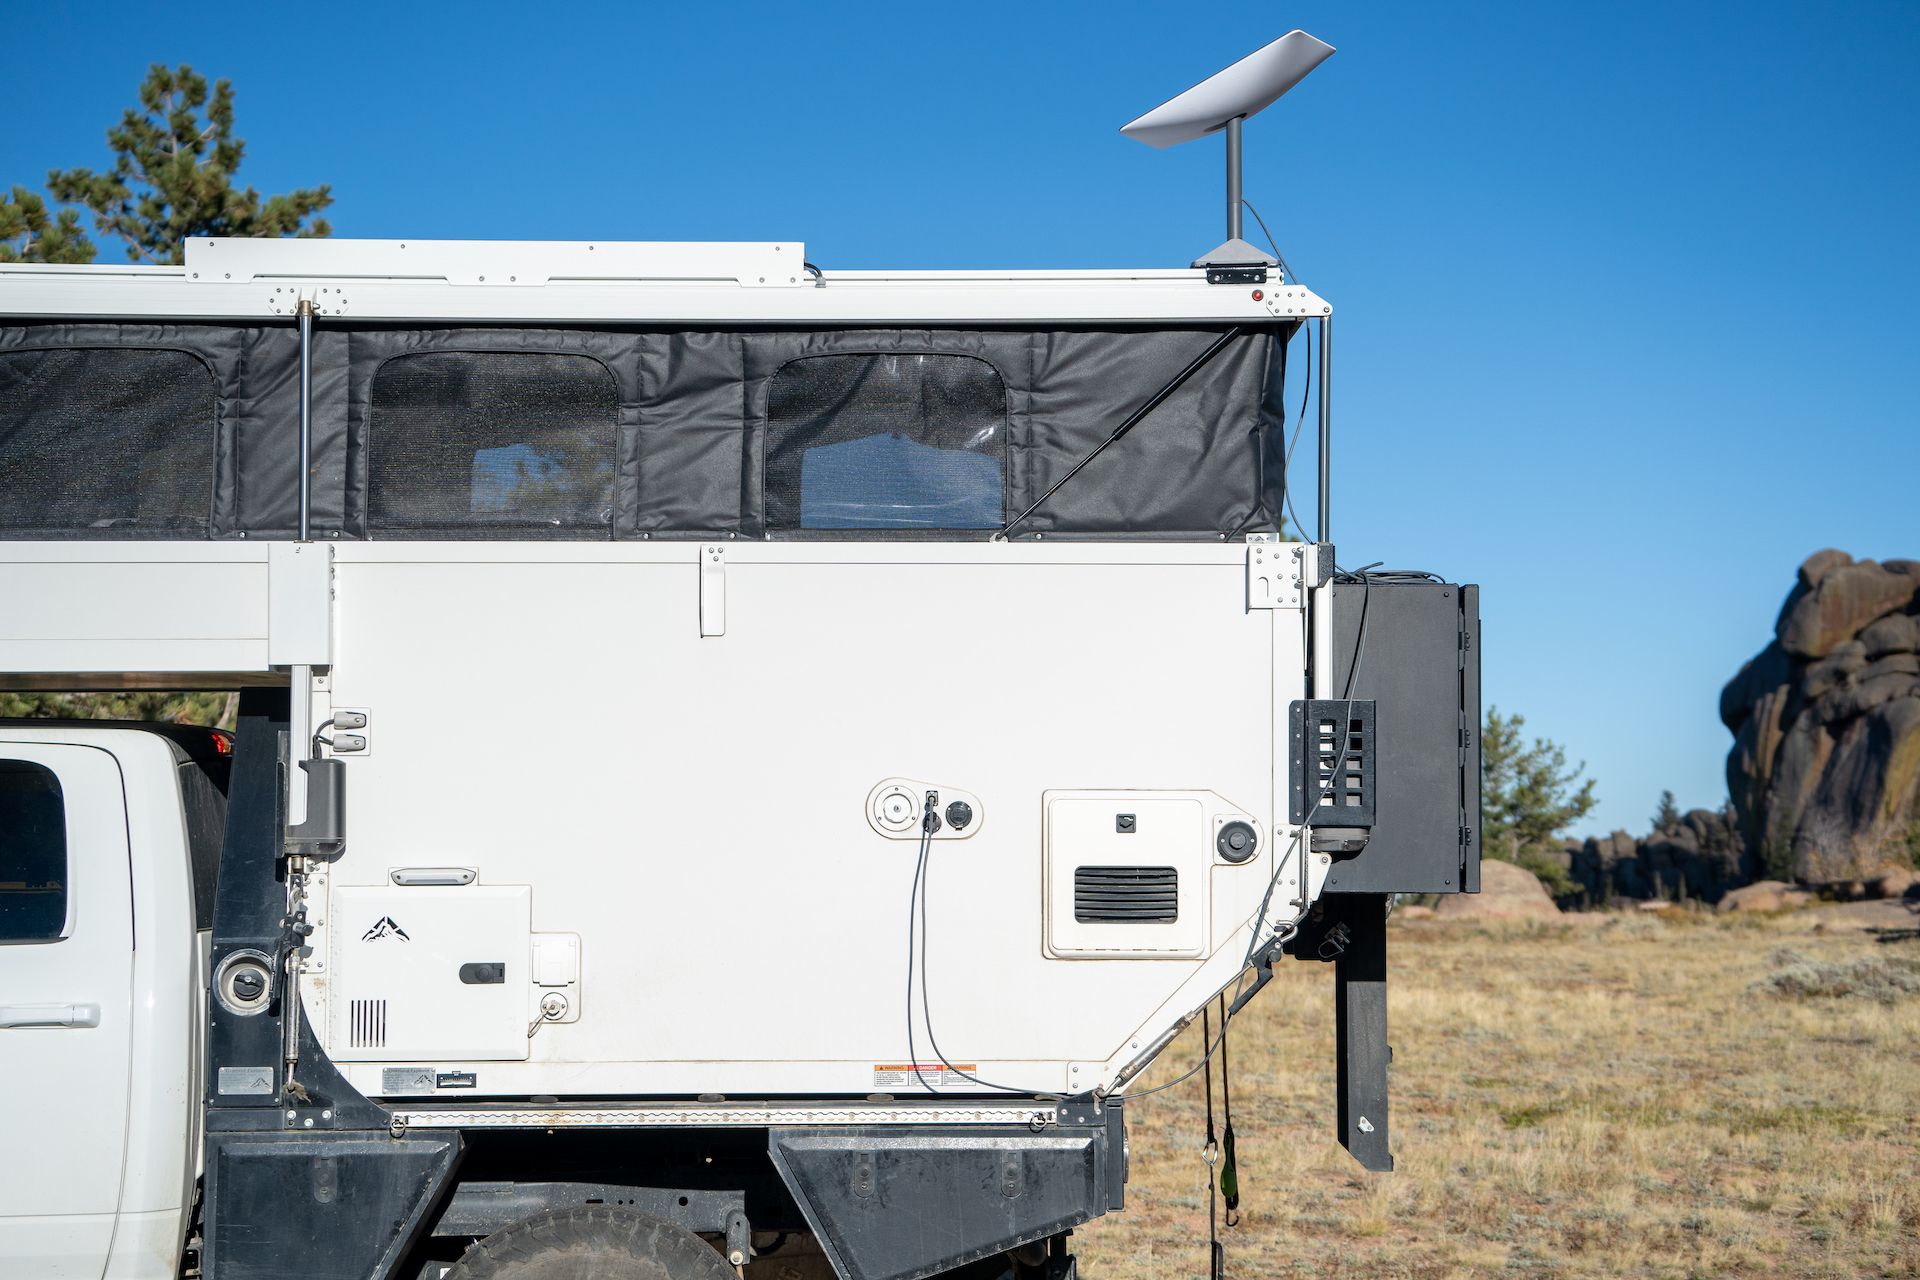 The dish mounted to the roof of the camper and wired to the router via the external connector.
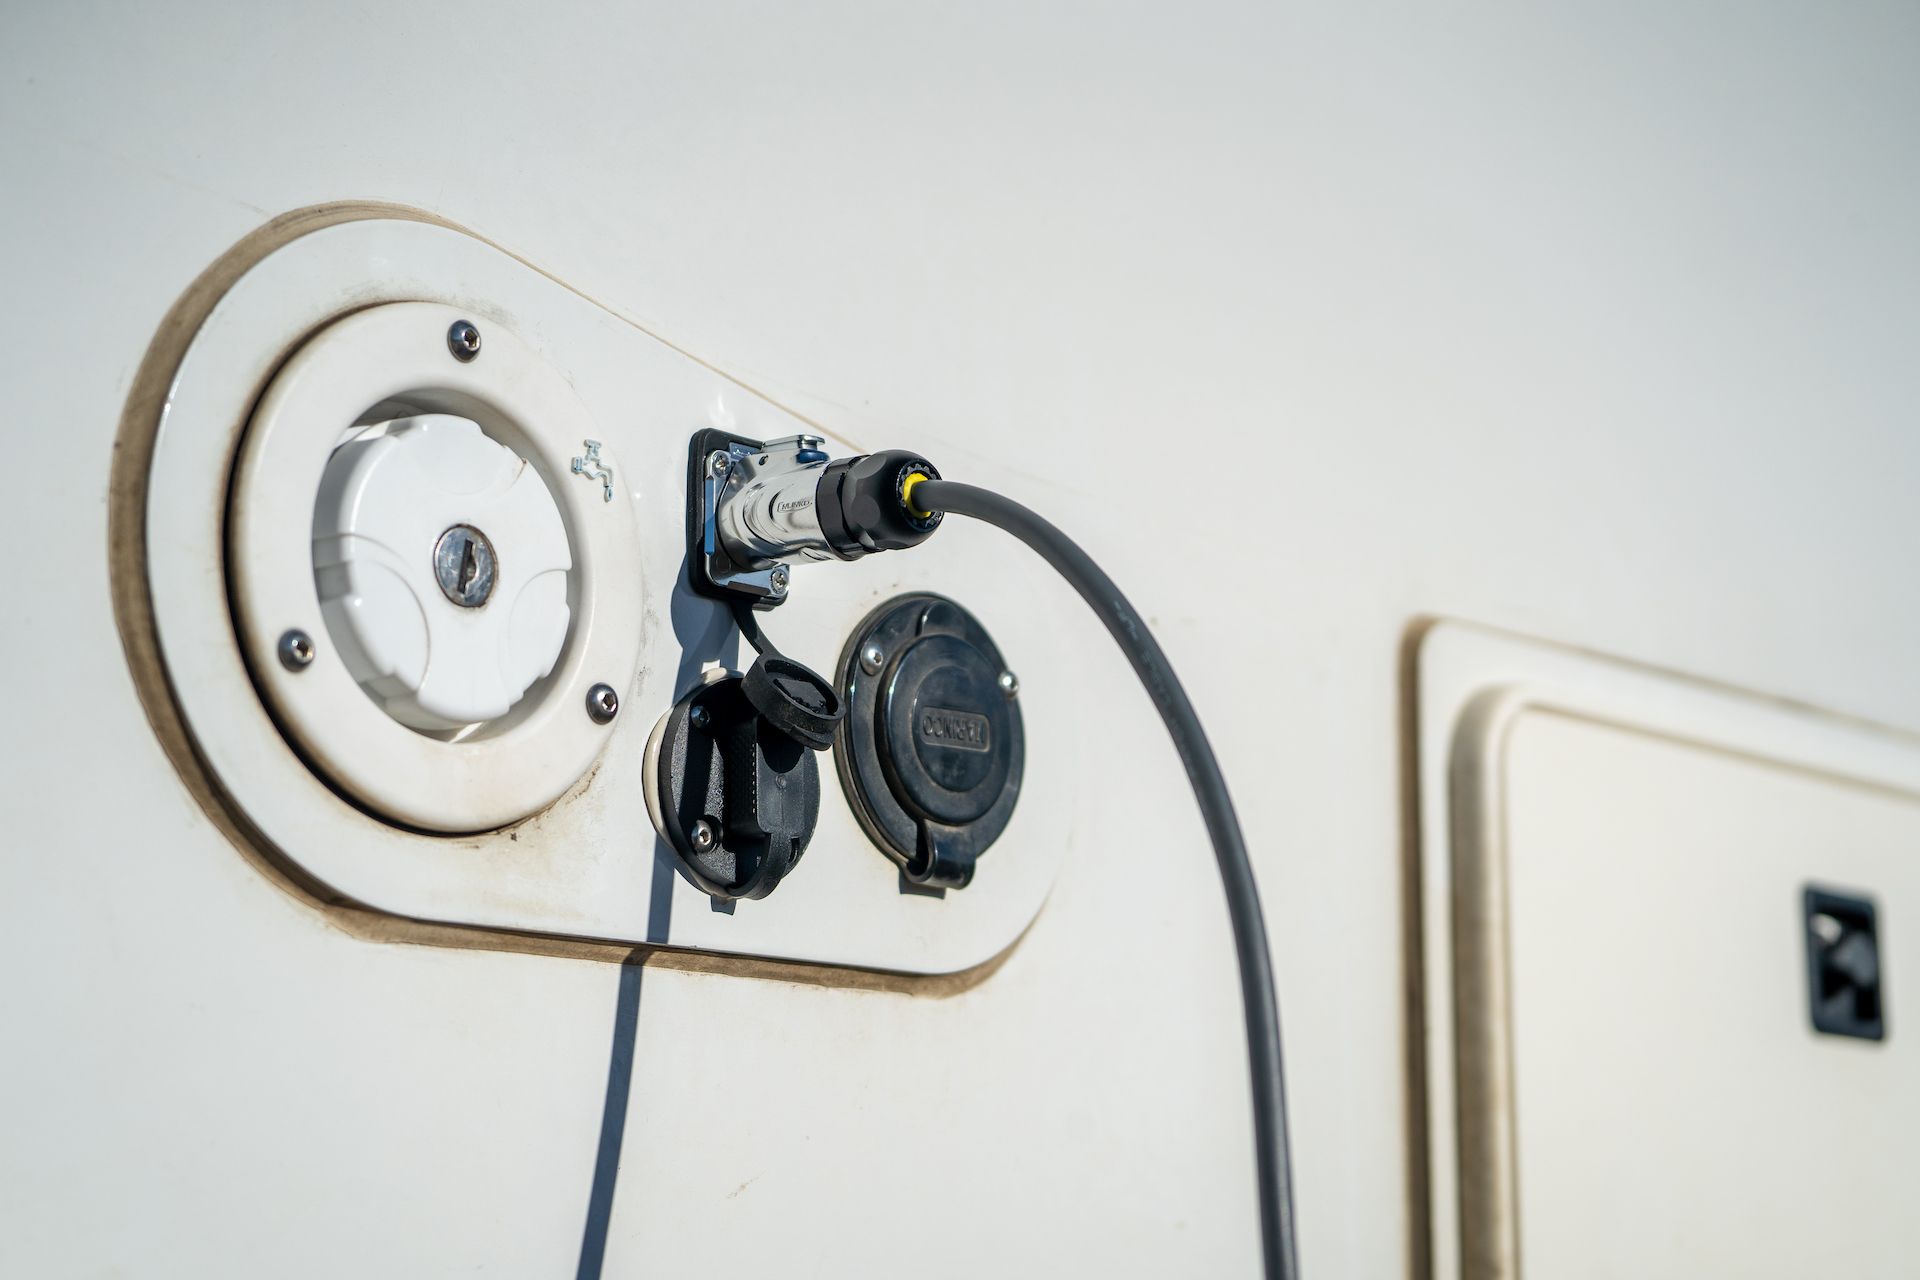 The external connector was inexpensive but seems to be good quality. The clicking sound when plugging it in is quite satisfying!
 A closer view of the custom bracket made by BVO and the Pivot mount from Starlink.
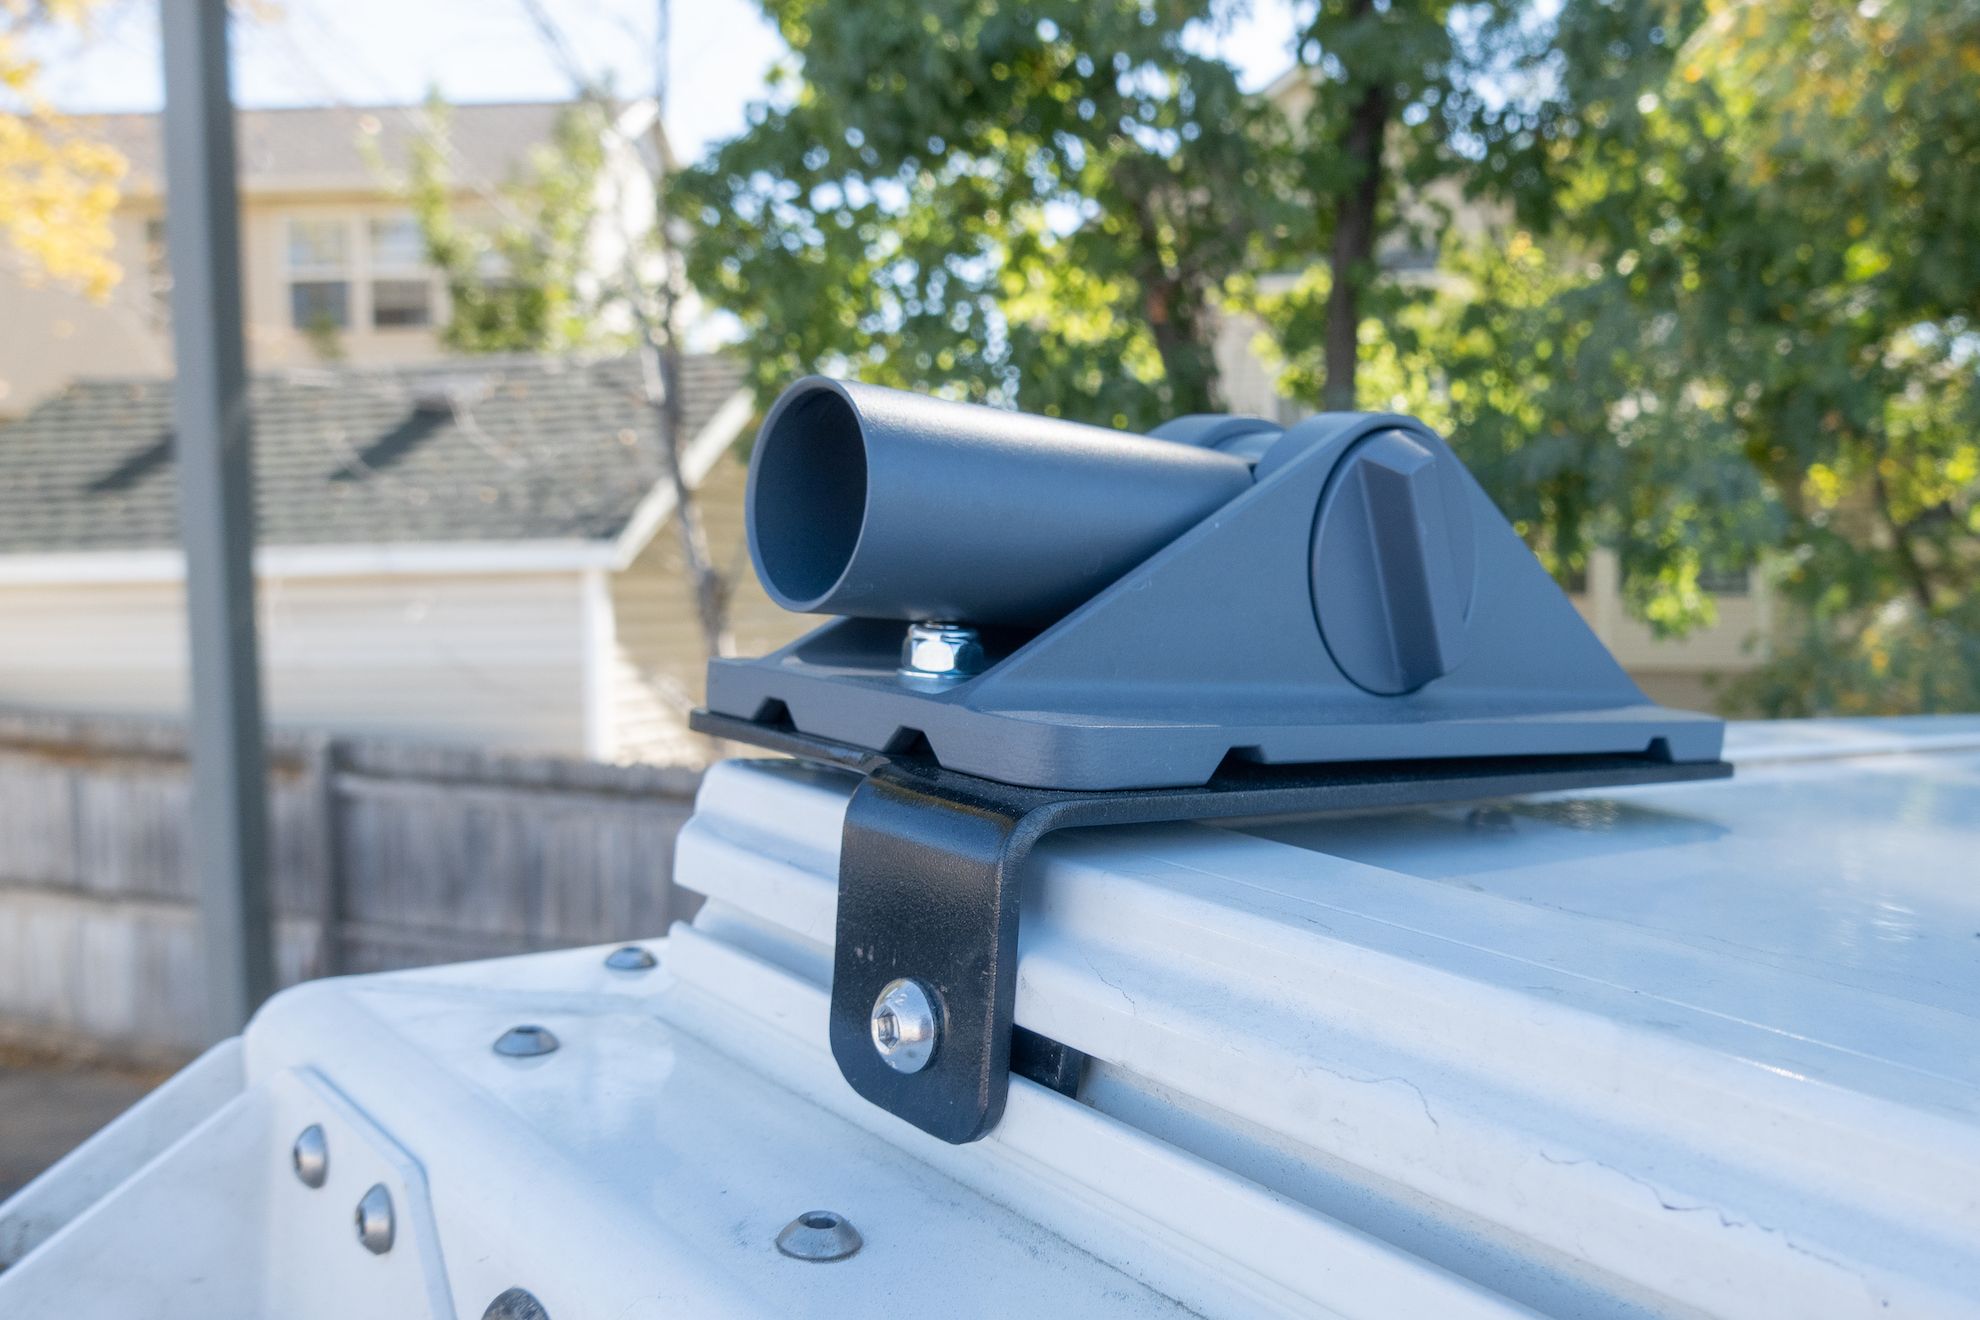 The Pivot mount in its flat position. Although it is solid, we won’t be driving with the dish mounted!
Et voilà! We are very happy with the install, and are thankful to BVO for the stellar work they did!